How to Blanch Vegetables for Freezing
In this post, I’ll share with you the importance of blanching, how to blanch vegetables for freezing, what vegetables should be blanched, and how to pack vegetables for freezing. As a bonus, I’ll share with you what vegetables don’t need blanching before freezing.
What does blanching vegetables mean? Every summer our gardens and markets are bursting with ripe summer vegetables. In order to preserve this wonderful bounty, and retain valuable vitamins, freezing is one of the best options. This post will help you do just that–how to blanch vegetables.

As it just so happens, I was raised in California and was lucky to have many vegetables available all year-long. For economic reasons, freezing fresh vegetables was and remains common in my household. The trick is, you must handle it with care and preparation.
Tools you need to blanch:
1 large pot (for hot water)
1 large steamer basket
1 large bowl (for cold/ice water)
1 slotted spoon
Cutting board
Vegetable knife
Plate lined with a clean cloth or paper towel
Water
Ice
What is blanching?
Blanching is parboiling. Enzymes are at work in your vegetables. The enzymes are what that breaks down the vitamin C and converts the sugars into starches. Enzymes also destroy the flavor and texture in vegetables. Freezing slows down this process, but it doesn’t stop their action. Heat will stop the enzymes action and that’s what blanching is. With the brief application of high heat, either by steam or boiled water, the process of blanching inactivates the enzymes and sets the color and flavor.
You might think this is a step you can skip and you may feel inclined to go ahead and freeze your vegetables without blanching them, however tests have shown vegetables that weren’t blanched (frozen and then cooked) were dull in color and poor in flavor. Vegetables that were blanched had bright color, had a sweet, fresh flavor, and good texture.
Importance of blanching
Blanching prepares the vegetables for freezing. It helps retain vitamin C as it so happens, many of the vegetables that are high in vitamin C are the very vegetables that freeze well. As a matter of fact, you can actually double the amount of vitamin C in the vegetables you freeze by the steps you take to prepare.
To get the most out of blanching vegetables, buy or pick your vegetables when they are at their peak of freshness. If the vegetables are too immature, they well be soft and shriveled when cooked. If they are too ripe, they will be stringy and tough when you cook them. If you are harvesting your own garden, be sure to pick your vegetables while the sun is still shining. This will give your vegetables the maximum opportunity to produce vitamin C.
Lastly, you will want to handle the process of blanching with speed and respect. It’s those last moments in your care, on the way to the freezer that can make a significant difference in food value. Now, let’s get started.
How to prepare vegetables to blanch:
- As soon as you bring your vegetables into your kitchen, rinse them quickly under cold running water. You want to avoid soaking as it can leach out the water soluble vitamins B and C.
- If you feel it’s necessary to peel your root vegetables, do so as thinly as possible in order to minimize the loss of vitamins and minerals that lie just under the skin.
- Cut your vegetables into sizes that you can most readily use for cooking.
How long does it take to blanch vegetables?
You can test for doneness after about 30 seconds. Remove one piece, dip it into the bowl of ice water and taste. You can do this every 30 to 60 seconds until the vegetables are cooked to your liking. Most vegetables will take between 2-5 minutes to blanch.
Common (and best) vegetables to blanch time table:
- Artichoke hearts: 6 minutes
- Asparagus: 2-4 minutes (depending on the stalk thickness)
- Beans (snap, green, or wax): 3 minutes
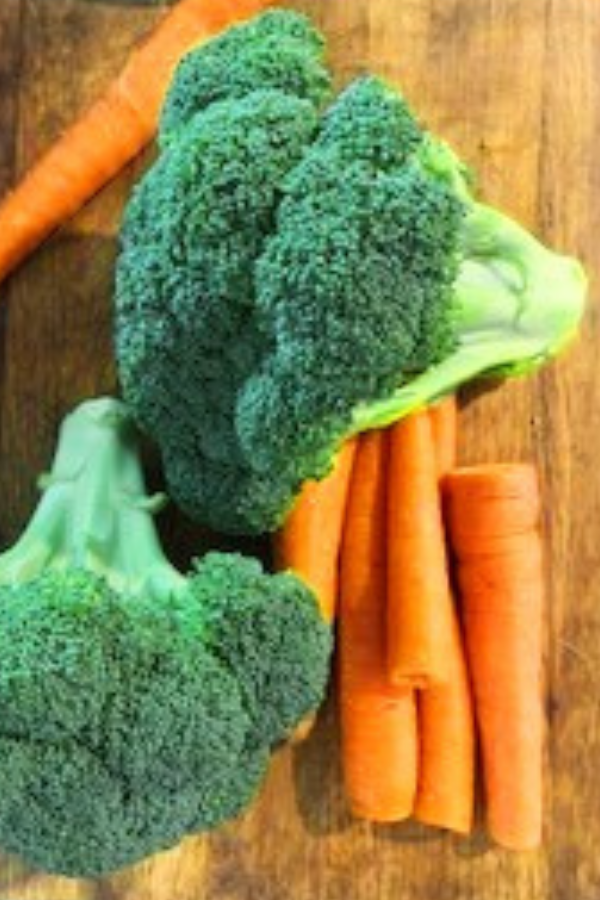
- Broccoli: 2 minutes (cut into 1-inch pieces)
- Brussels sprouts: 3-5 minutes
- Carrots: (diced, coins, or strips) 2 minutes
- Cauliflower: 3 minutes (cut into 1-inch pieces)
- Corn (on-the-cob): 2-3 minutes
- Leeks: 1-2 minutes
- Onions: 3-7 minutes (depending on size)
- Peas in the pod: 2-3 minutes)
- Peas shelled: 1 1/2 minutes
- Soybeans: 2-3 minutes
Bonus tip: What vegetables don’t need blanching before freezing
Dried beans
Garlic
Leeks
Onions
Peppers
Learn more about how to freeze all of these vegetables in my other post:

Are there different methods to blanch vegetables?
There are two methods to blanching vegetables. Steam blanch or water blanch. Below are the steps for both methods to blanch vegetables. In both methods, the vegetables will need between 2-5 minutes to complete the steaming process. It depends on the size of the vegetables, how thick the stems are, or how thick you cut them.
How to steam blanch:
- First prepare your vegetables.
- Add one or two inches of water to the pot.
- When the water boils, insert the steamer or basket with one layer of food on the bottom. The basket should hold the vegetables one to two inches above the water.
- Cover with a lid.
- When the steam starts escaping from under the pot lid start timing the blanching.
- Check halfway through the blanching time that the vegetables are not clumping together and heating unevenly.
- When the vegetables are done, quickly remove the steamer basket from the pot and plunge it into an ice bath to stop the cooking process.
- When the vegetables are completely cool, remove them from the ice bath and drain on the towel lined plate.
Tip: When steaming vegetables it is best to do about 1 pound at a time to keep the water from losing its boil when lowering in the vegetables.
How to water blanch:
- Prepare the vegetables by dividing them into groups weighing about 1 pound each
- Boil one gallon of water in a blancher or big pot
- Place the vegetables in a mesh basket or a blanching basket and immerse them in the boiling water
- Cover with a lid (follow cooking time as identified in chart above)
- When the vegetables are done, quickly remove from the pot and plunge the vegetables into an ice bath to stop the cooking process.
- When the vegetables are completely cool, remove them from the ice bath and drain on the towel lined plate.
Tip: If the water stops the boil upon placing the vegetables in the water wait until the water comes to a boil again and then start timing.
How to pack vegetables for freezing
Tray freezing is a good technique to keep vegetables separate in the freezer, but it doesn’t make a significant difference if you can knock frozen vegetables to loosen them. If you have the extra time to tray freeze you can do that, otherwise you can skip the extra step and pack vegetables straight into a container.
An easy way to pack your vegetables is to use freezer safe containers. You don’t need to allow headspace because there will be no liquid that needs room to expand. You can also use frozen bags to pack vegetables, just be sure to press all the air out of the freezer bag before you close it.
Wet packing vegetables
Wet packing vegetables is best when you’re cooking or sauteing vegetables in oil or butter, rather than blanching before freezing. This technique works for mushrooms, summer squash, eggplant, and tomatoes. You can also shred a root vegetable like turnip, parsnip, or rutabagas. Sauté them until they are just soft and freeze using this wet pack method.
Blanching vegetables is an easy yet important method of preparation that will guarantee a delicious meal. It’s vital to understand the right cooking times and temperatures for each type of vegetable in order to get the best results. I hope this post helps get you started to blanch your way to vegetable success!

Sign up for FREE HAMMER & Spoons Newsletters.


[…] In this article, you will read the term “blanch” and “cold water plunge”. Learn more in our other post: How to Blanch Vegetables. […]